


My printing came out like this after its first washing and drying.
Does it have anything to do with my laundry method?


Meet Tech Team Here!
Tired of asking why and how all the time?
Here we’ve collected some frequently asked questions (FAQs) about printer, film and ink, together with professional suggestions from our tech team.
Come and see if any of them can help!
PASSAGE SUMMARY
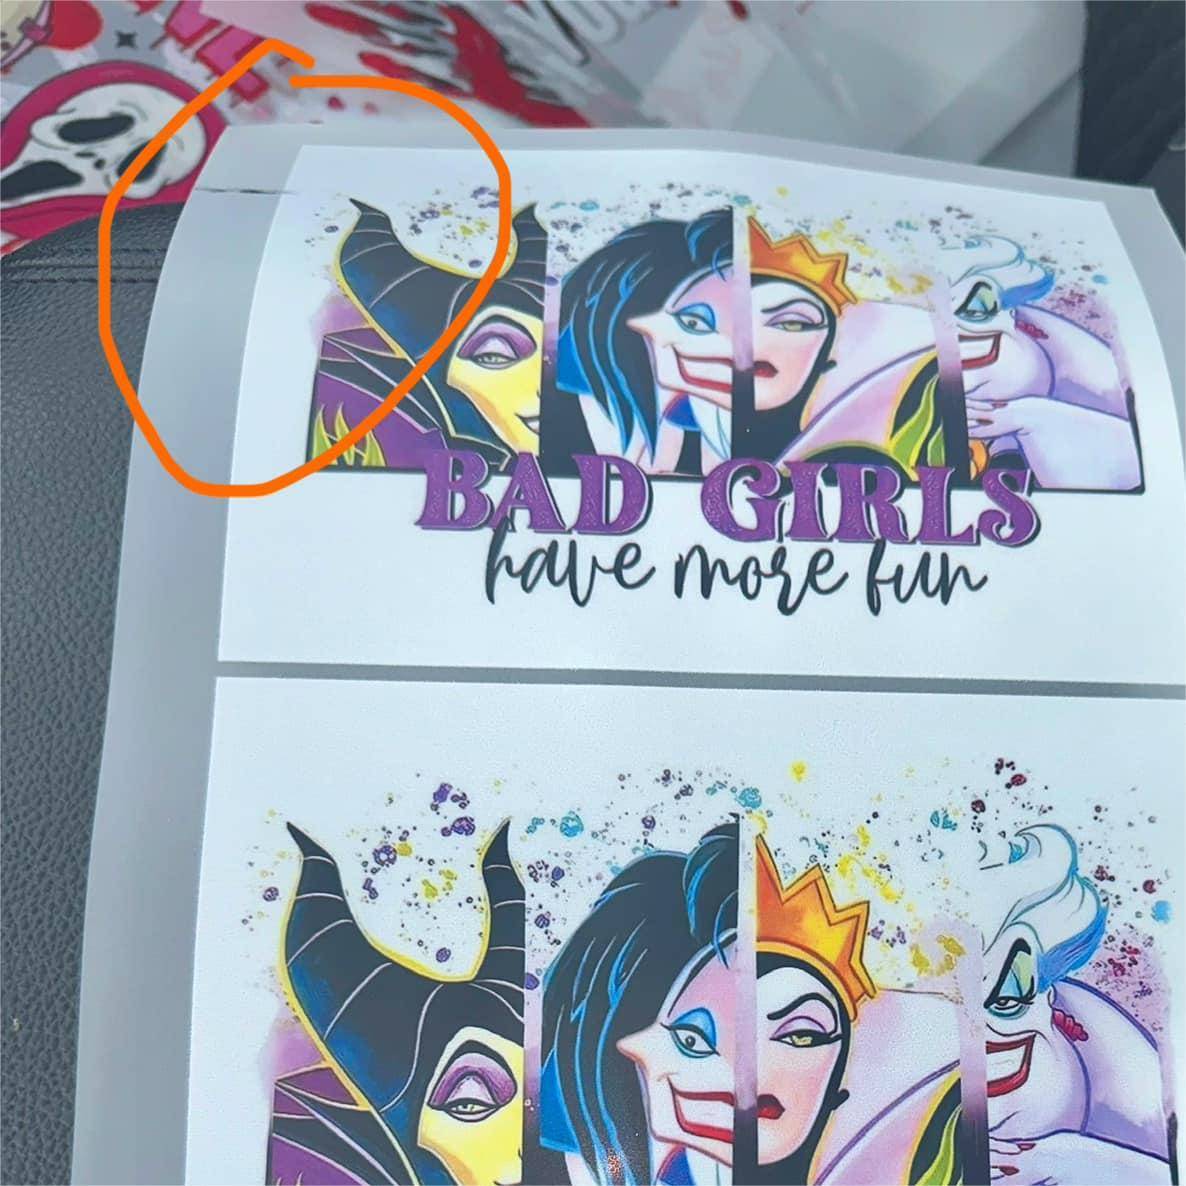
Question 1. Why my printing wrinkled after gentle washing?
Yes, if your washing or drying is processed with high temperature water, then this may be the problem. But a cracked printing can also be caused by other reasons, detailed as below:
Wrong laundry method - lothes with DTF printing are recommended to be washed inside out, and washed/dried in a low temperature. High water temperature or high-speed rubbing on the surface may somehow destroy the bonding between fabric and ink thus leading to printing cracking.
Poor white ink base - normally white ink works as the base of printing thus its quality evidently affects the whole printing performance. Before transferring the printing onto fabric, please check if the white layer is printed well.
Poor powder curing or pressing - if the adhesive powder is not cured thoroughly, the remained moisture will result in air pocket that greatly influences the pressing outcome.
Friendly reminder - if you want to double ensure the outcome, you can do a second pressing (with heat press temperature to 145℃ and pressint time for 20 seconds) after your first one.
Unsuitable adhesive powder - some specific fabric substrates need specific adhesive powder. For example, rougher fabric needs coarse adhesive powder (200 mesh with a particle size below 250 micron) to achieve better curing and pressing effect.
Question 2. How to solve incomplete printing issue?
Got no ideas about the margin on RIP. It looked fine on the screen but turned out like this.
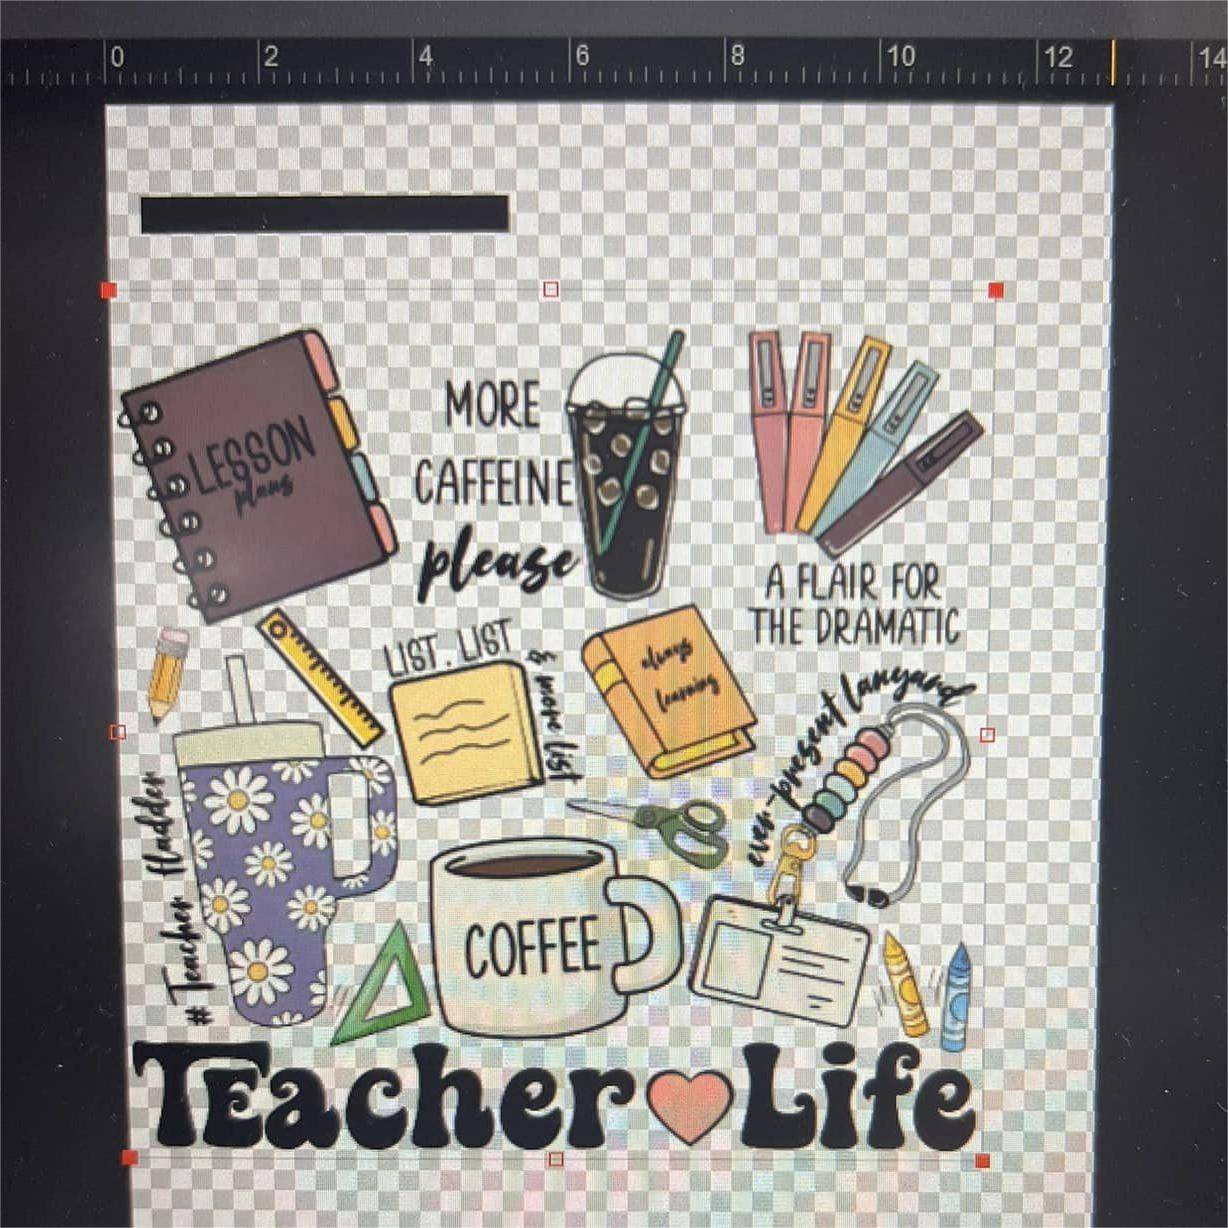

The software keeps showing red spots and telling me the boundaries are out of range but as you can see in the picture it’s not. What should I do?

We can see that the "STAY" graphic has a transparent background which is out of the range, but the main body of the graphic is exactly within the range (still it can be a bit more to right). So it’s okay to ignore the red spots warning and keep on printing.
About the "TEACHER LIFE" one, it’s quite obvious that the graphic is placed way too left. Move it a little bit to the right will promise a more complete image.
To sum up, always make sure the main body of your graphic falls exactly and totally within the range. When the size is too big that it almost reaches the range border, just adjust it to smaller.
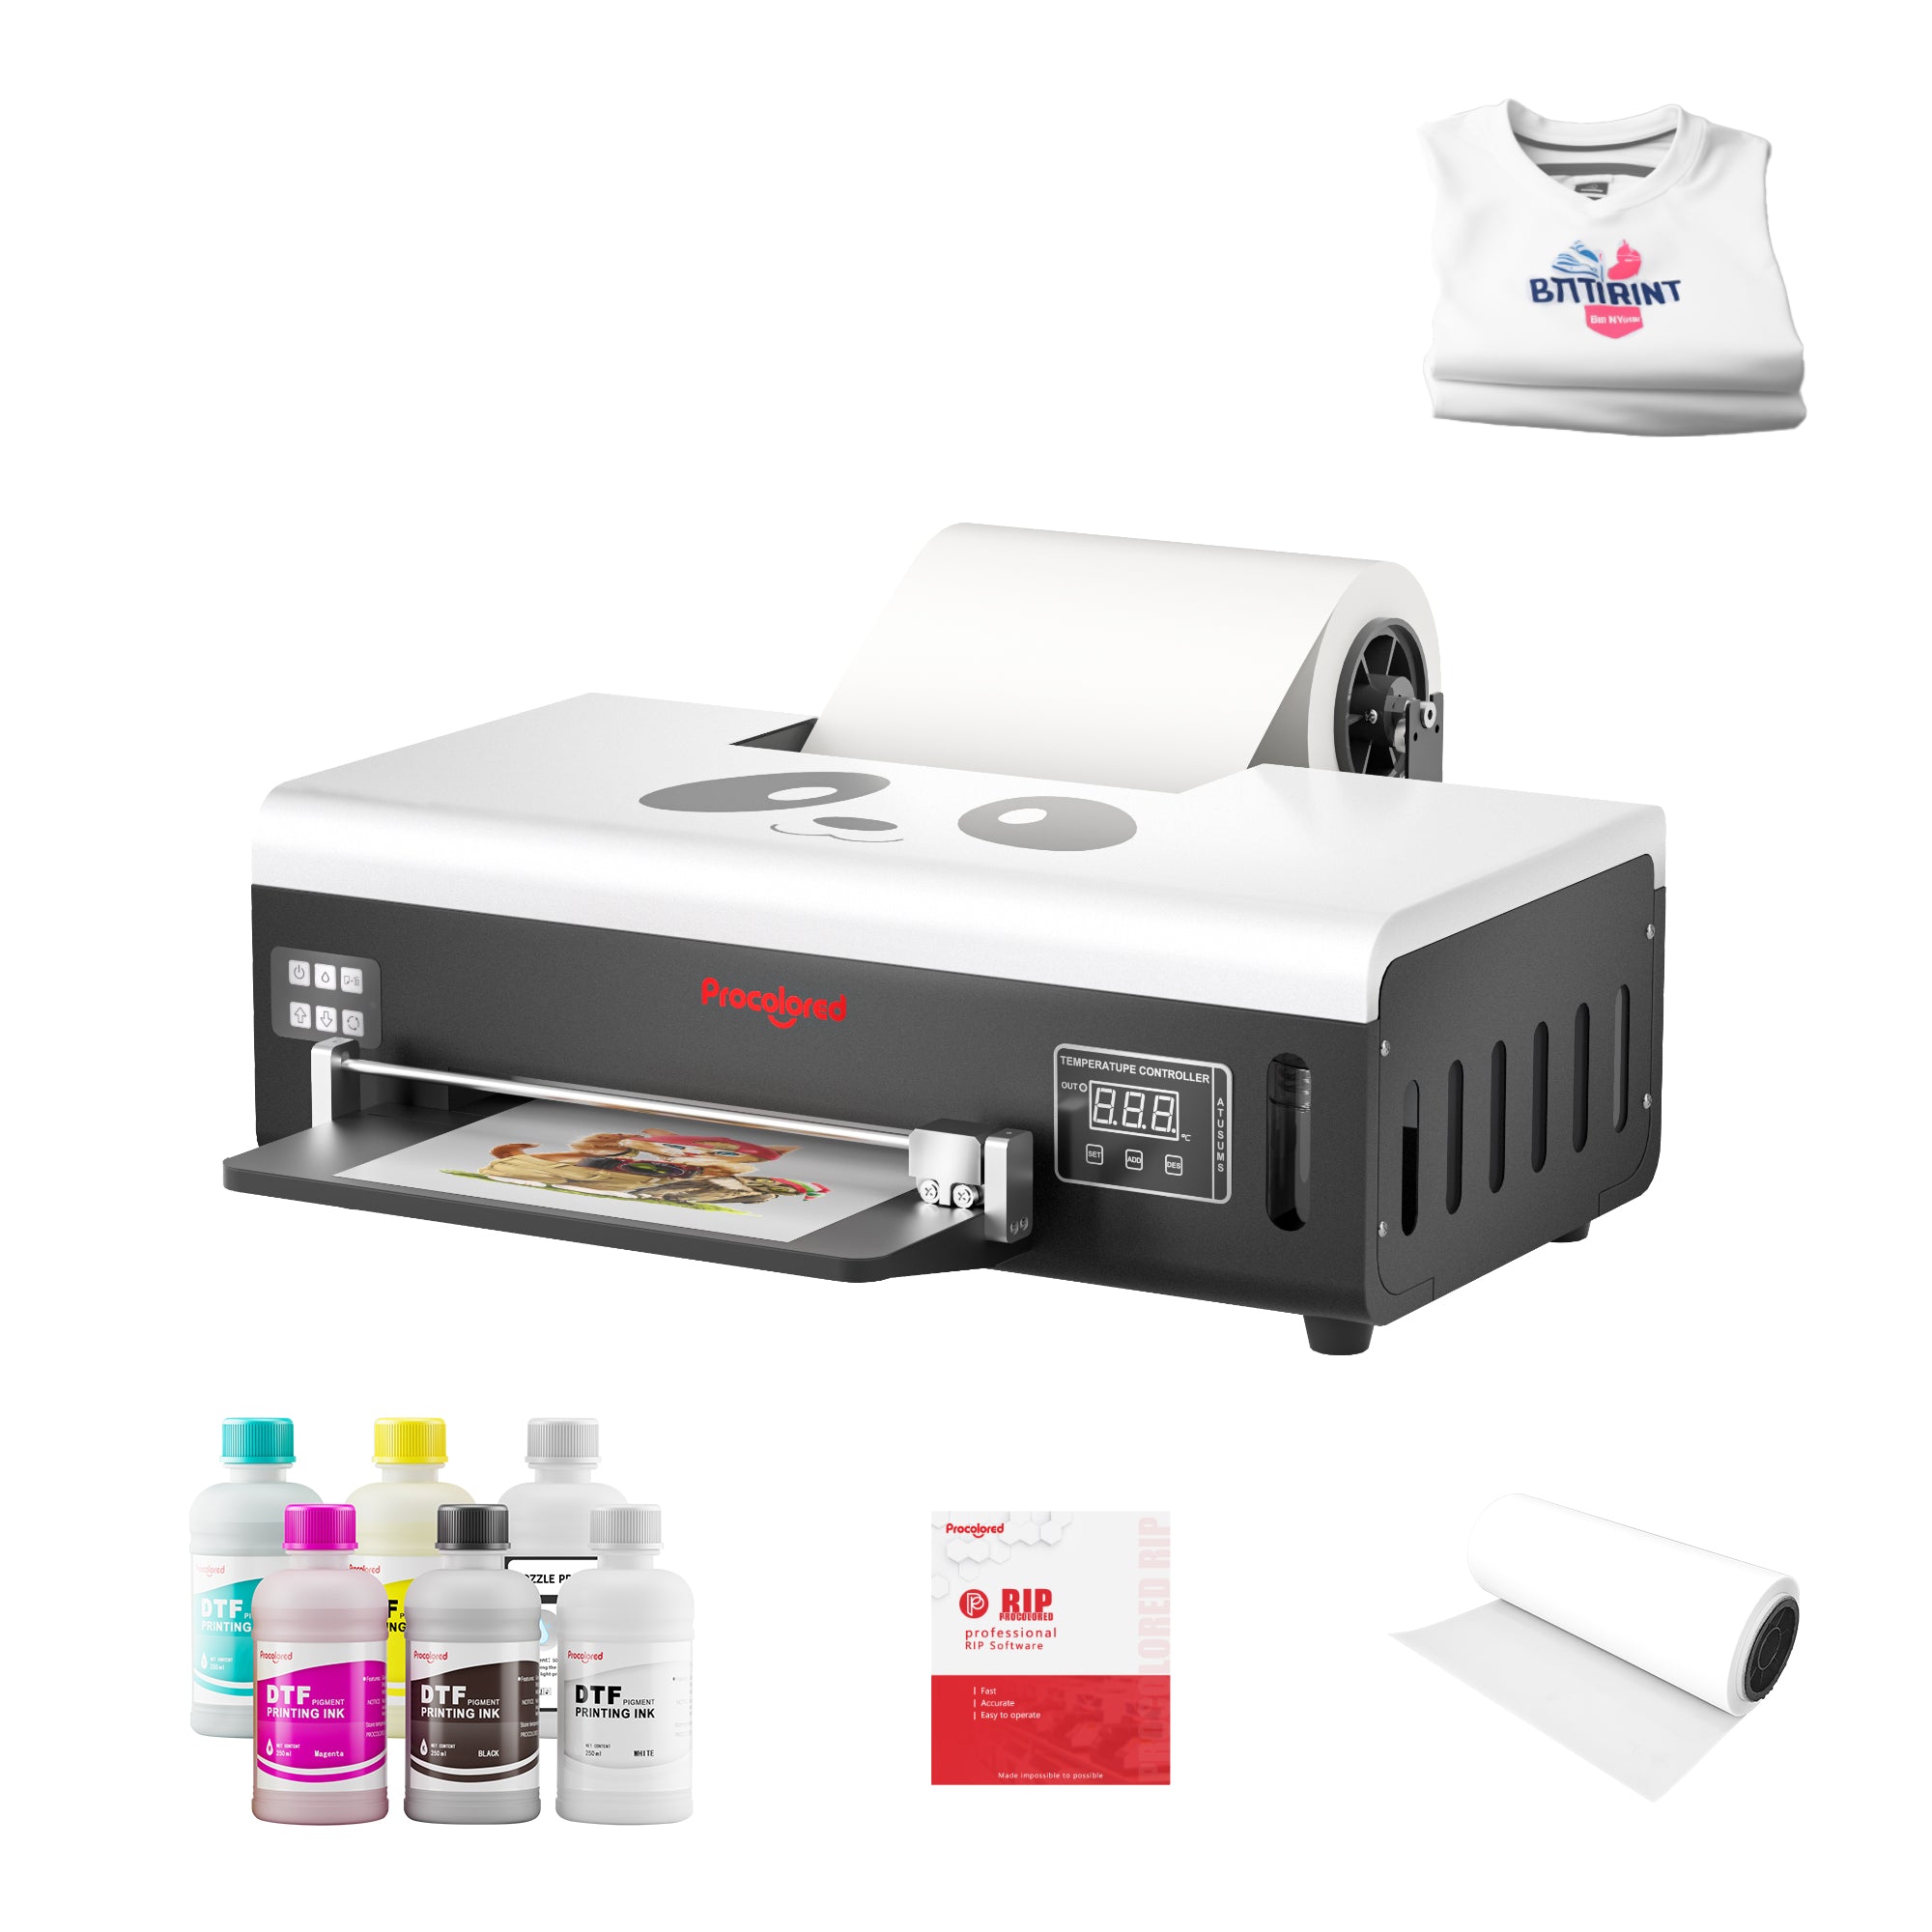
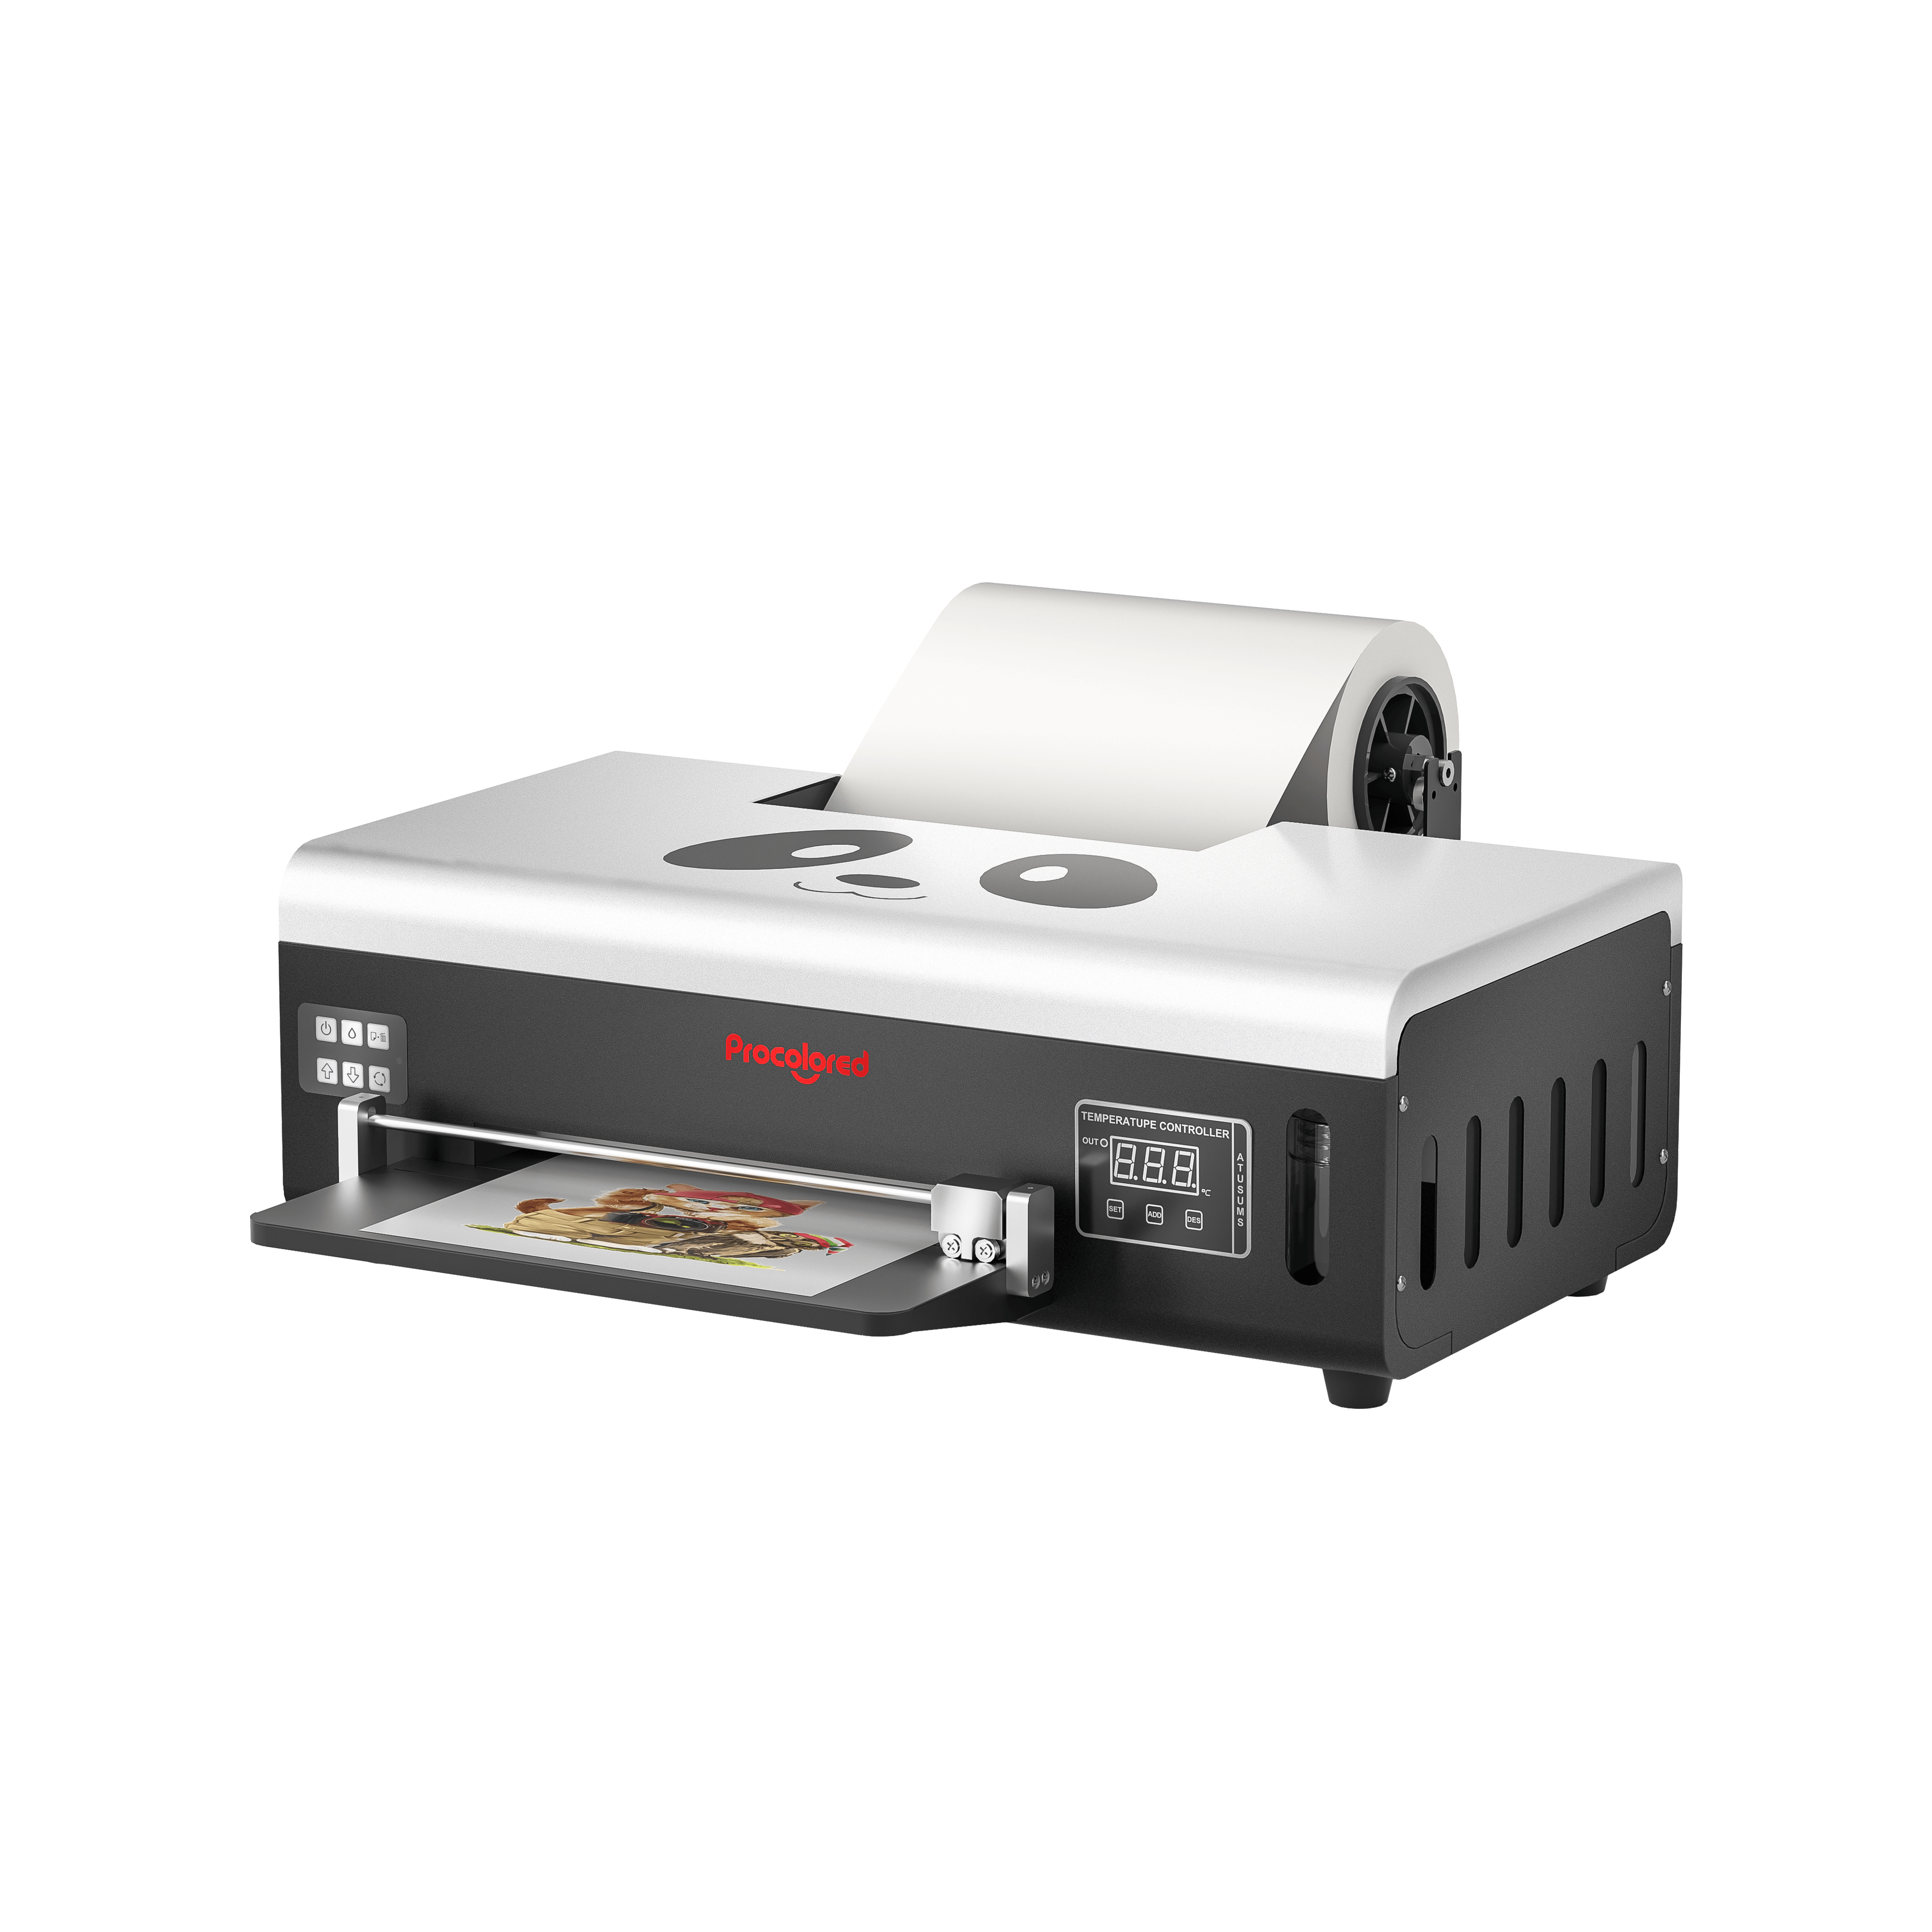
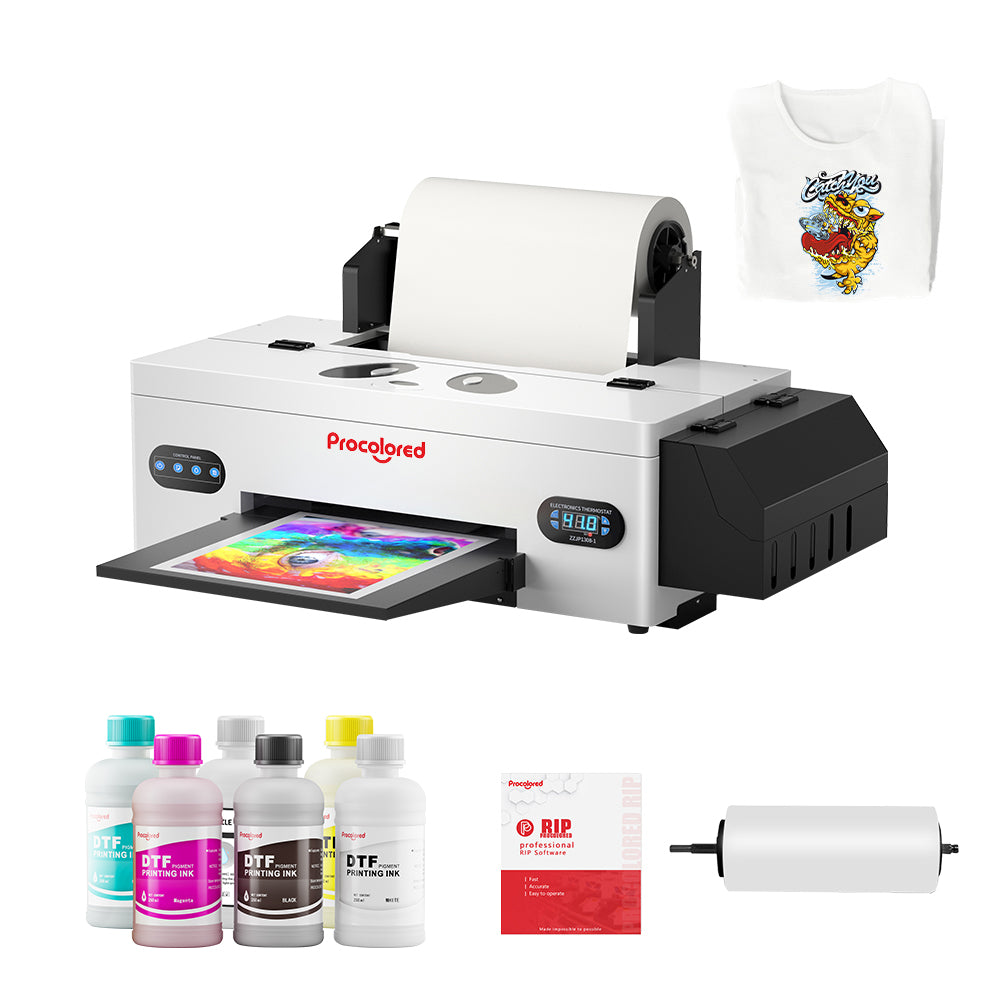
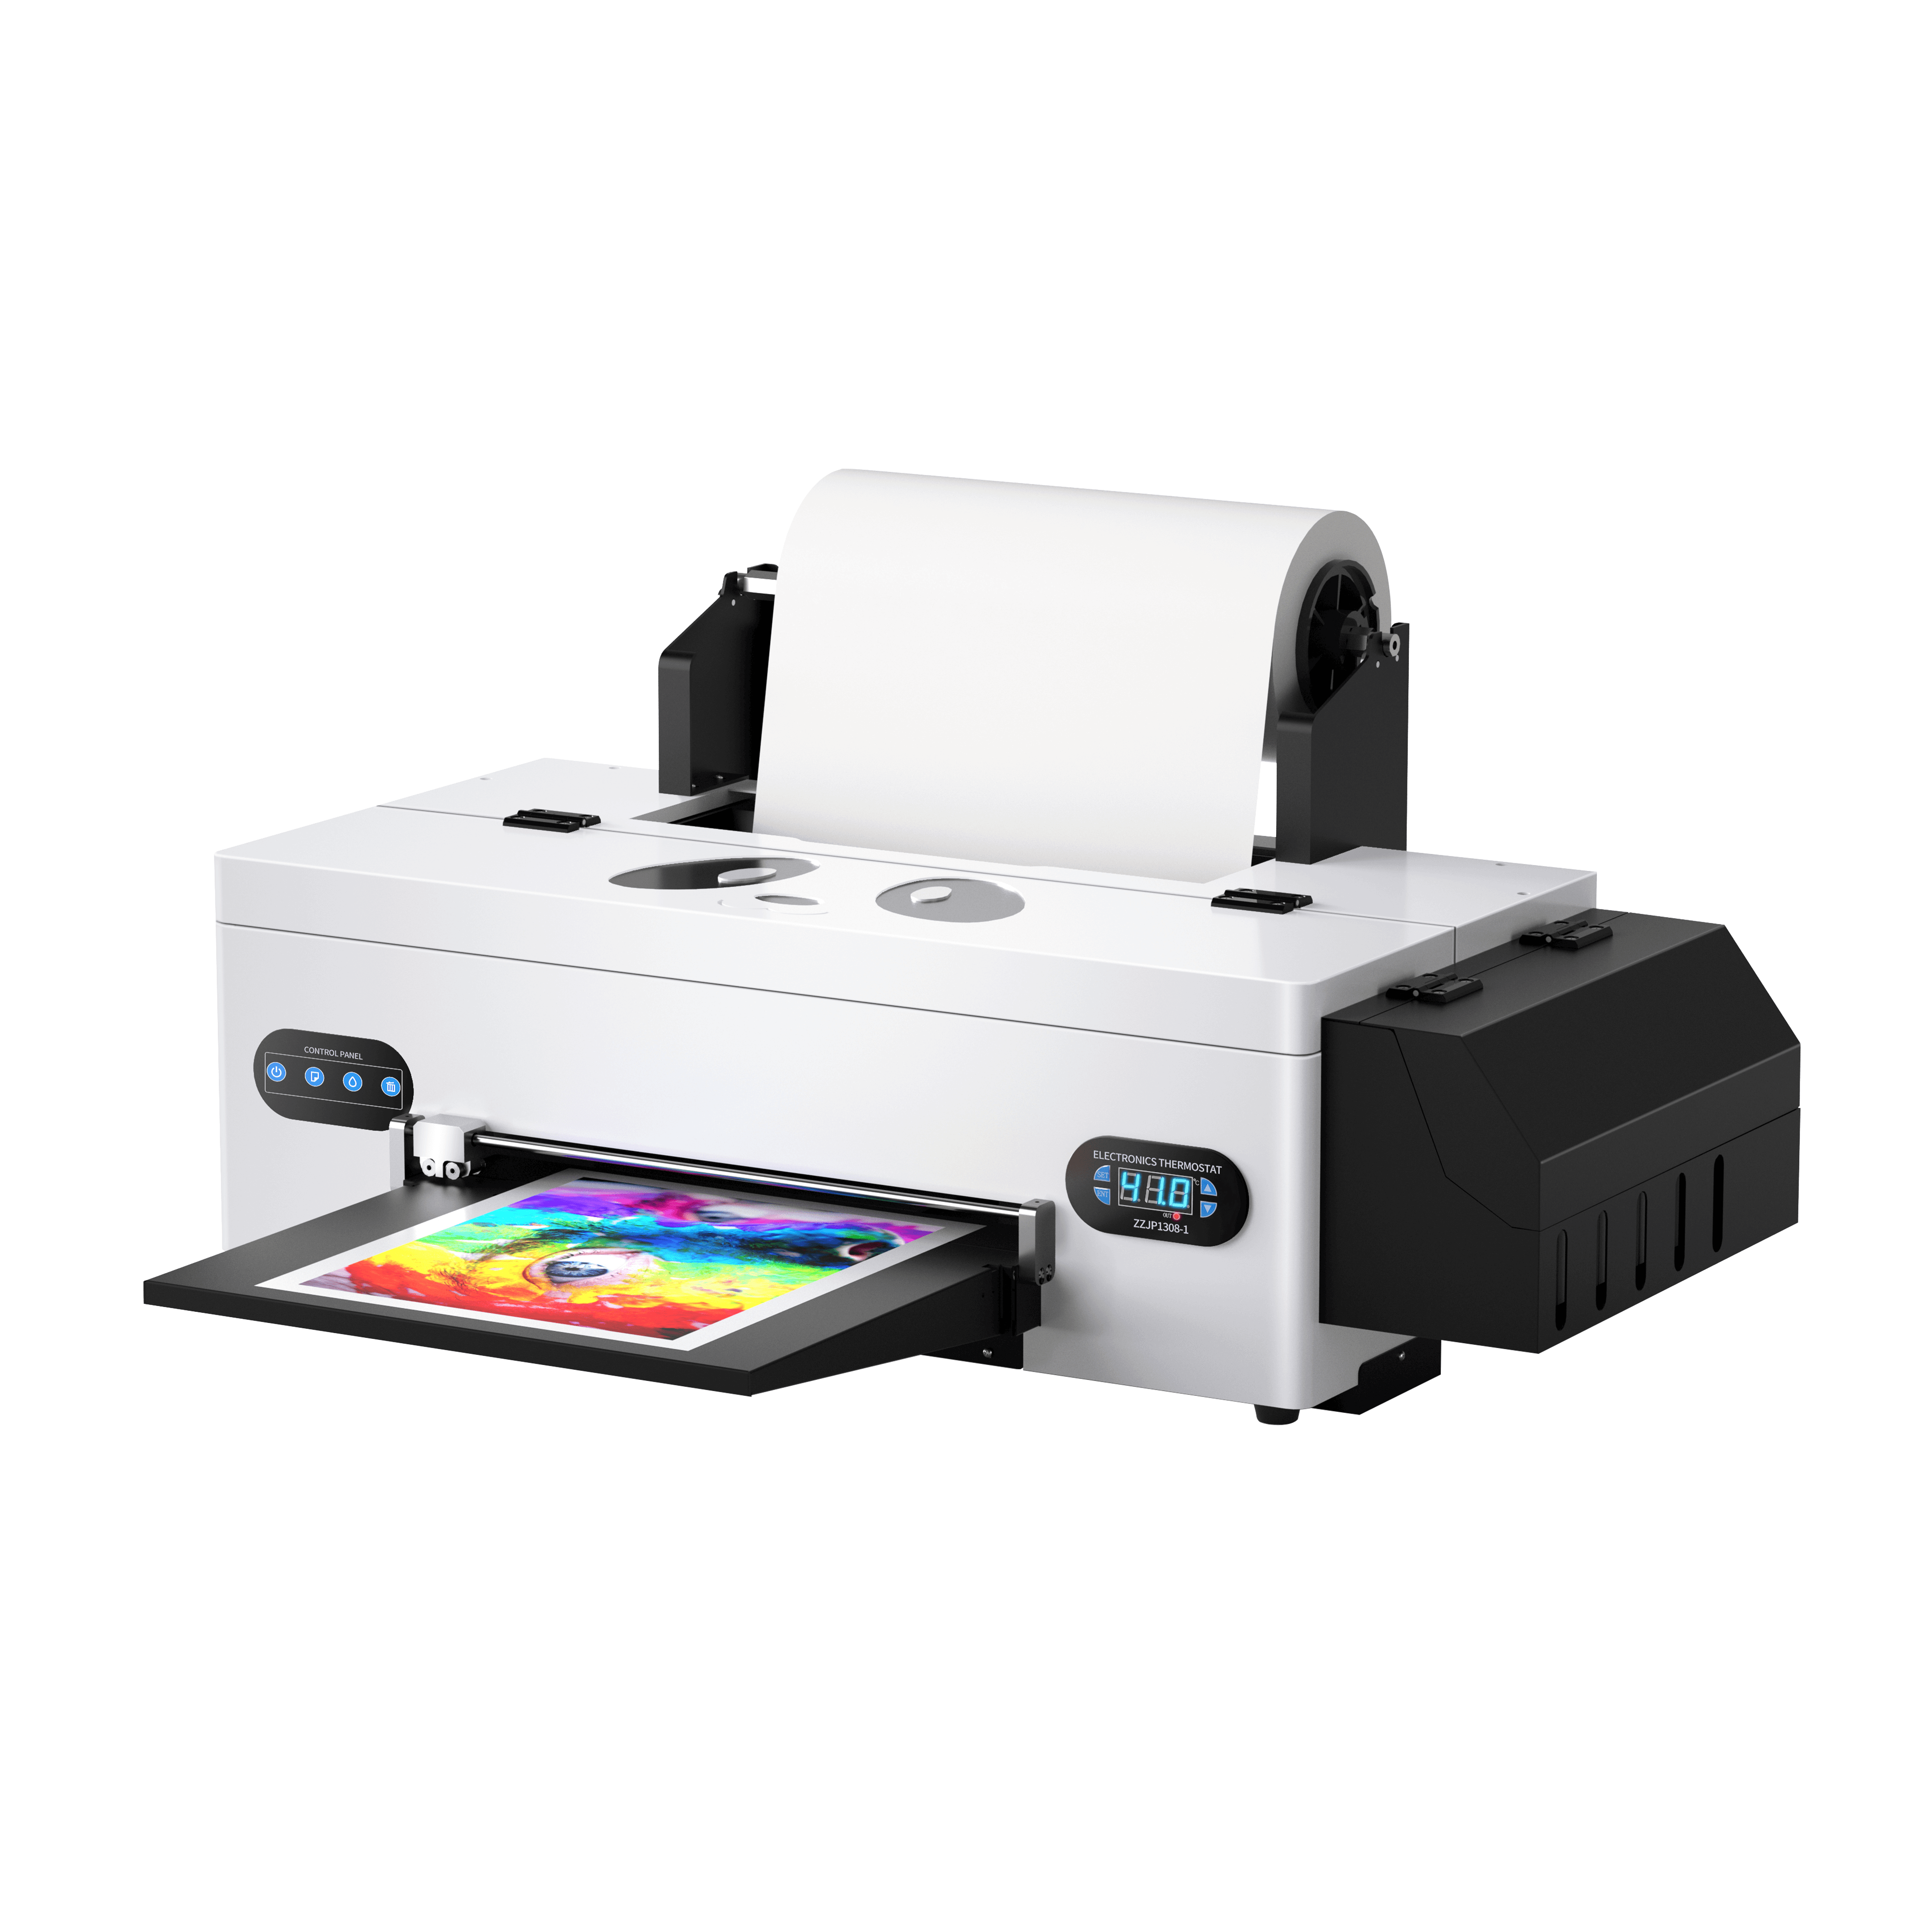
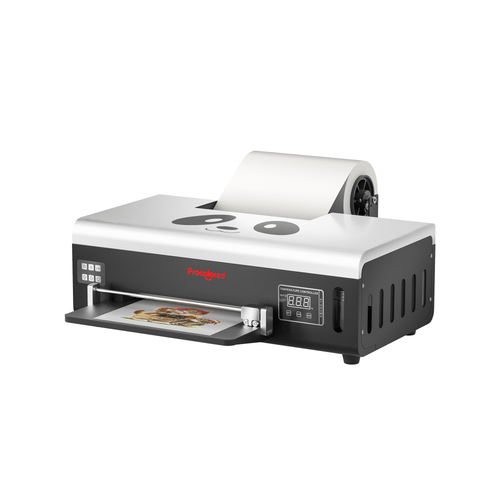
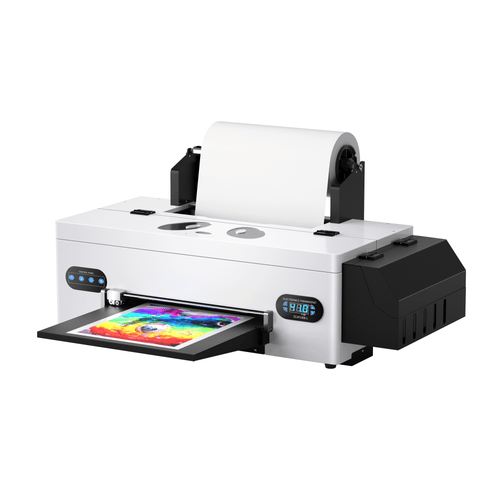
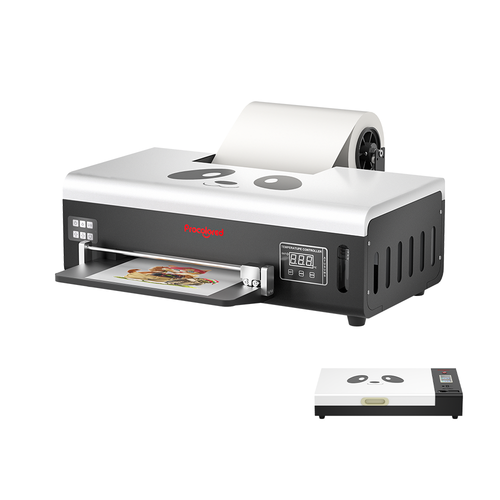
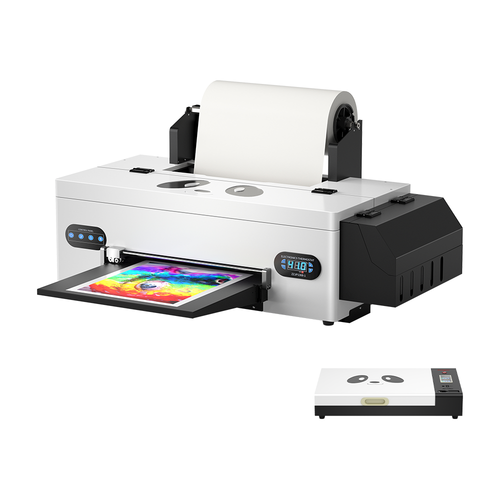
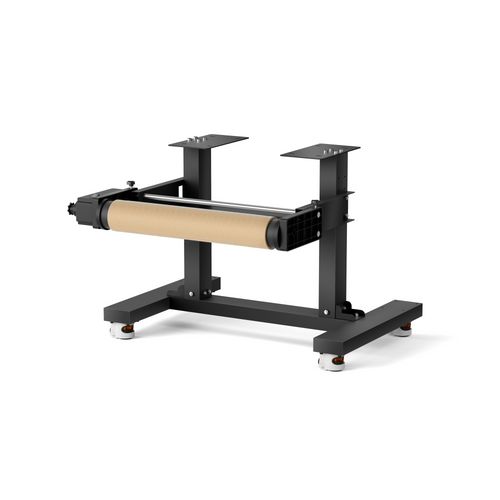
Besides, for all DTF printers except DTF Pro, before printing, please make sure your film is installed correctly and is always placed to the right. Take DTF L1800 for example, set your film to the right as the picture shows.

Question 3.
Why my sheet film always comes out with a marking at corner?
I don’t know is this a film quality issue or anything wrong with my printer? Every time the sheet film came out with an evident marking at corner, and there’s always a paper flapping sound when I look this happen.
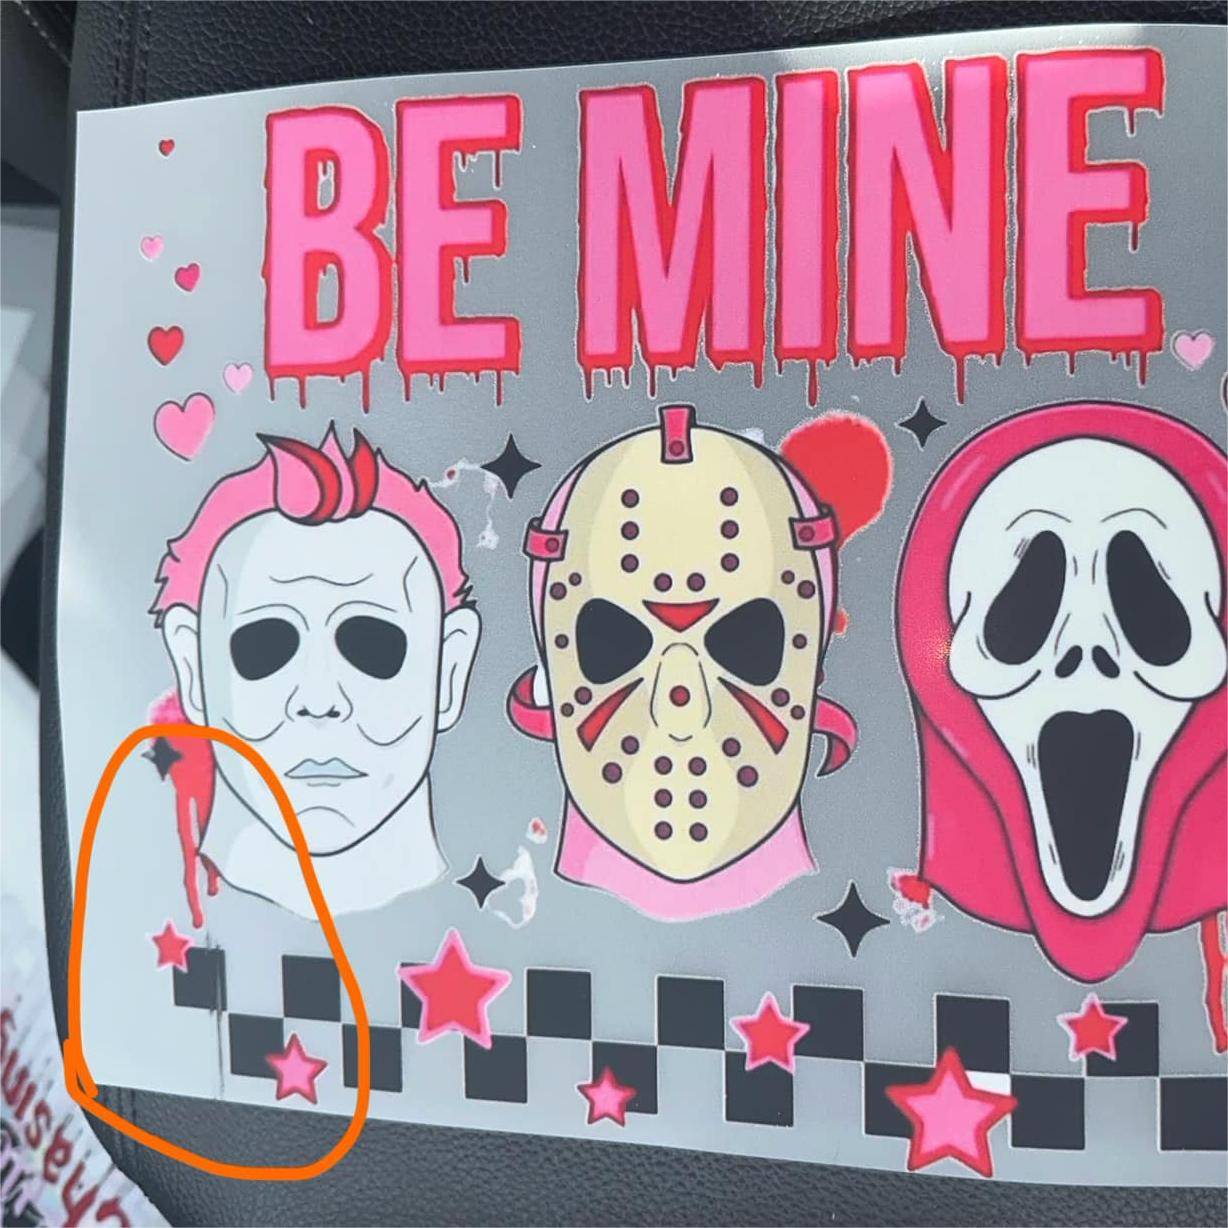
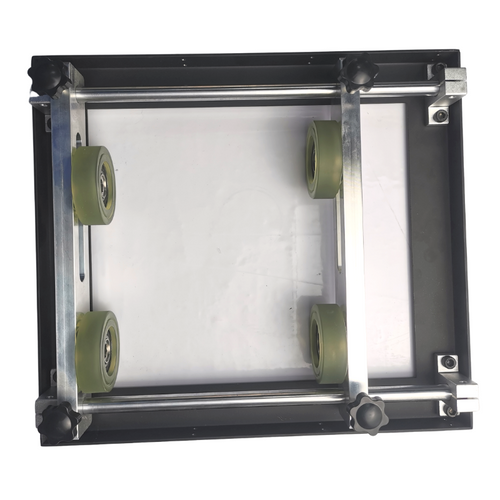
Please check if there’s something under your print head or under the platform. The presence of a foreign object might cause uneven or disrupted printing, as the print head may not be able to maintain proper contact with the film surface. We assume this is why there's a paper falpping or rubbing sound. Also, this little foreign object can result in blurry prints, missing spots, or extra ink buildup as your picture shows.
Question 4. Is it okay to cure the powder right after the printing?
How long do you wait to add powder and bake after the print? I’ve read some folks do it right away and some folks wait. I’m rather confused coz it seems the shaker machine doesn’t wait neither.
Yes, some people directly spread the powder right after the printing, and to the naked eye their prints still look great. Yet sorry that we can not guarantee you this is totally okay since we don’t know about the exact heat pressing or washing quality.
Instead, we still insist that please wait for 1 minute before adding adhesive powder. This is a short 1 minute that only makes your printing more stable and durable:
Ink fixation - ink is far from fixation right after the printing. Directly adding powder on it right away may cause ink smudging and leading to a poor printing quality. If you wait for 1 minue, the ink will be allowed to be absorbed or fixed into the PET film surface.
Powder adhesion - powder adheres better to a slightly dried ink layer. Though ink can only be partially dried under indoor temperature in this 1 minute, it’s still helpful for the powder to stick uniformly to the printing.
PS, the shaker machine works fast indeed, but in fact there's also 1 minute at least before it spreads powder on the printings in it. Hope this makes all clearer!
Question 5. How to remove the white outline?
On all my prints my white is going a little outside the design. How to get rid of the white lines exactly? I’m using the default Printexp software.
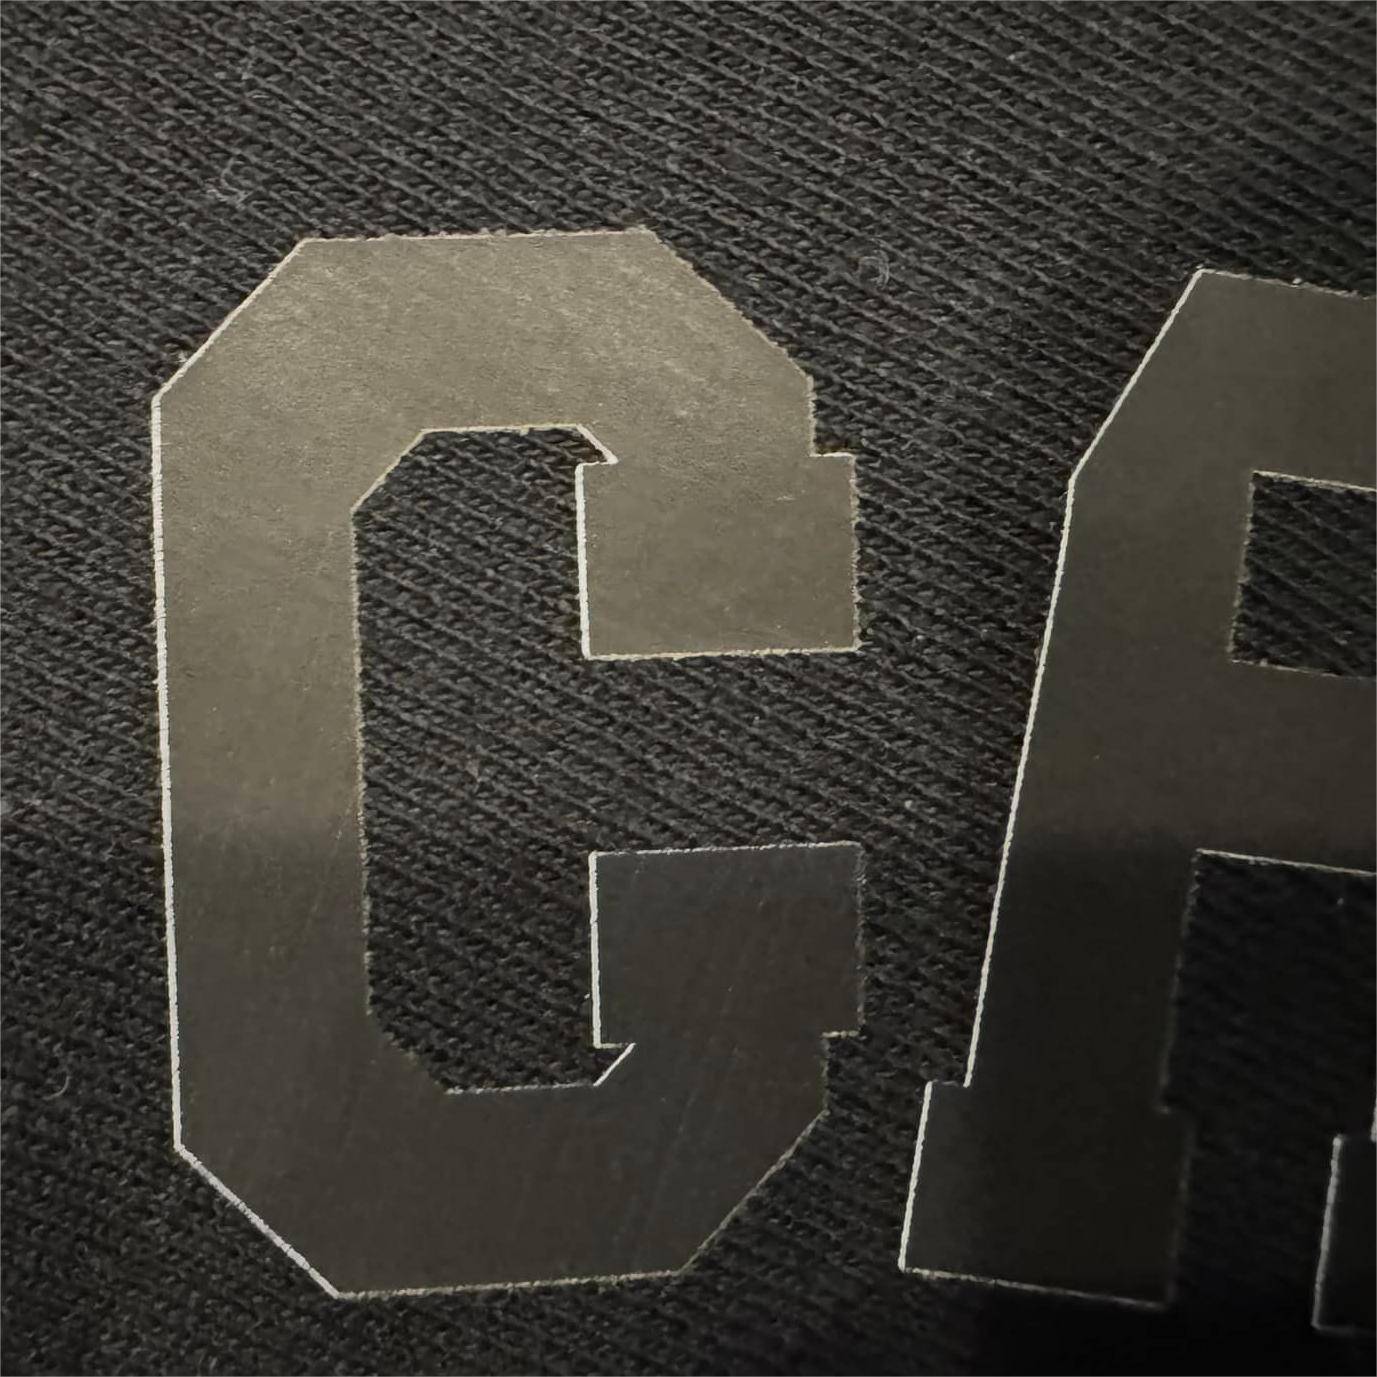
This can be the most frequently asked question. When this happens, please don’t keep printing the same graphic and hoping the white lines will just go away, that will only waste lots of your inks and films.
Instead, please check below suggestions and practise the one that’s suitable for your situation.
The white lines may originate from your artwork. Please zoom in your graphic or check the graphic layers to rule this out.
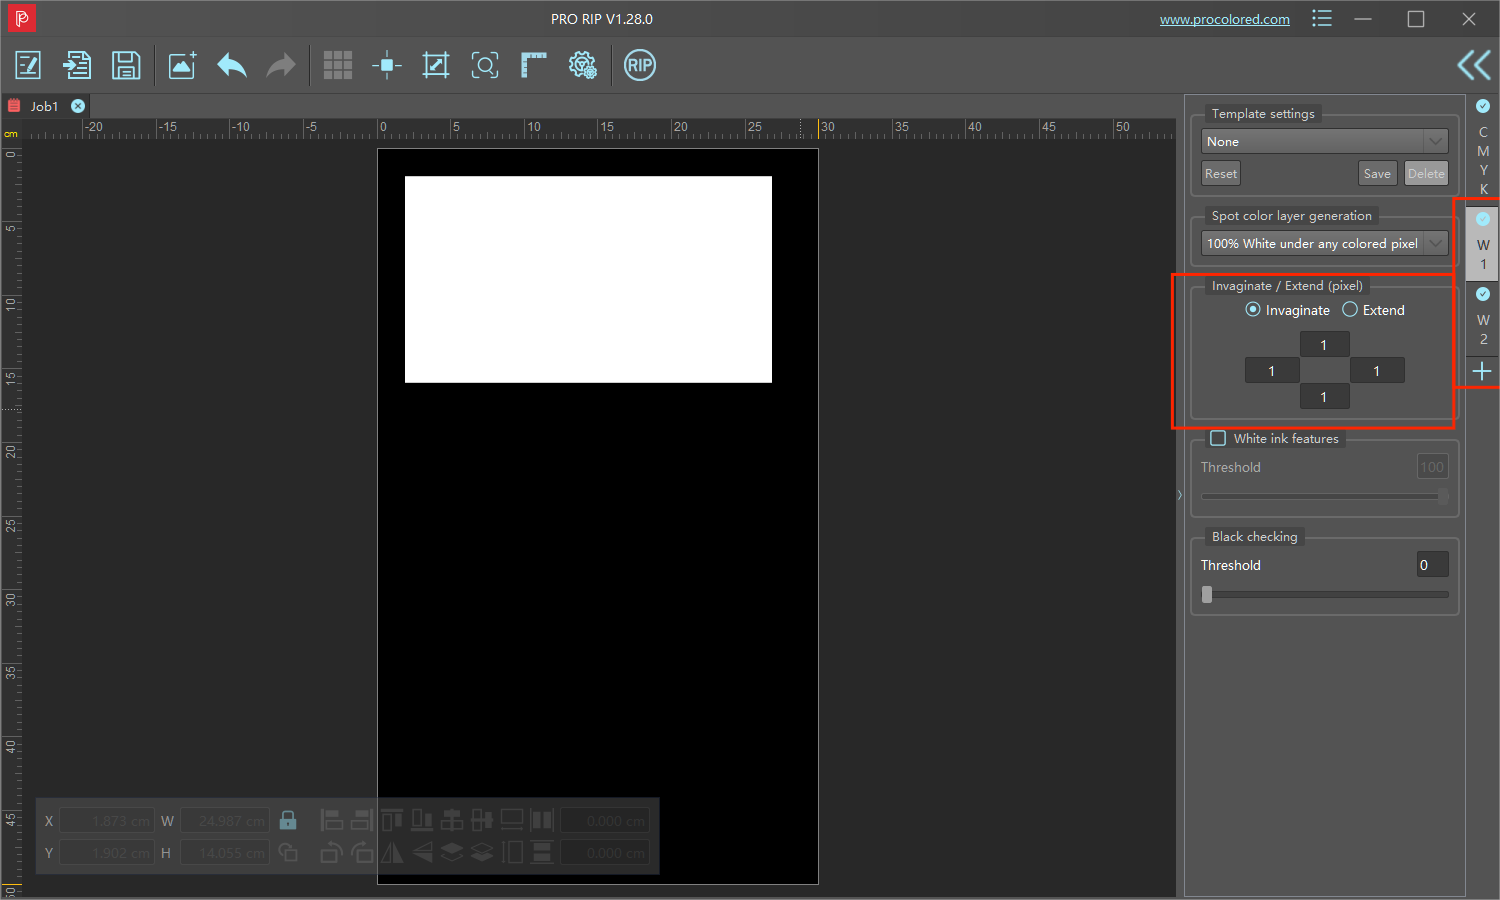
The reason may be the printing software settings.
For all the DTF printers, this issue can be solved by adjusting the choke of white underbase in Pro RIP. Just click W1 or W2 on the right side, choose "invaginate" and set the four boxes between 1-3 pixels.
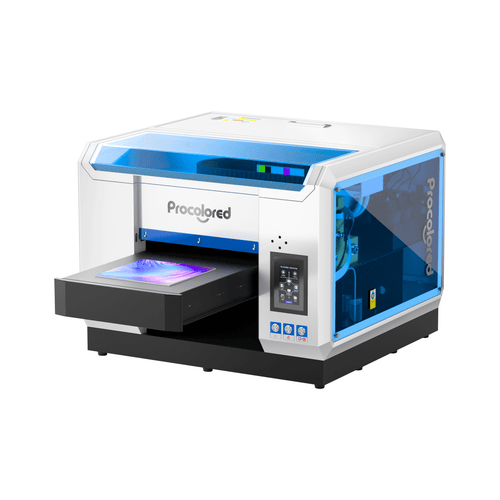
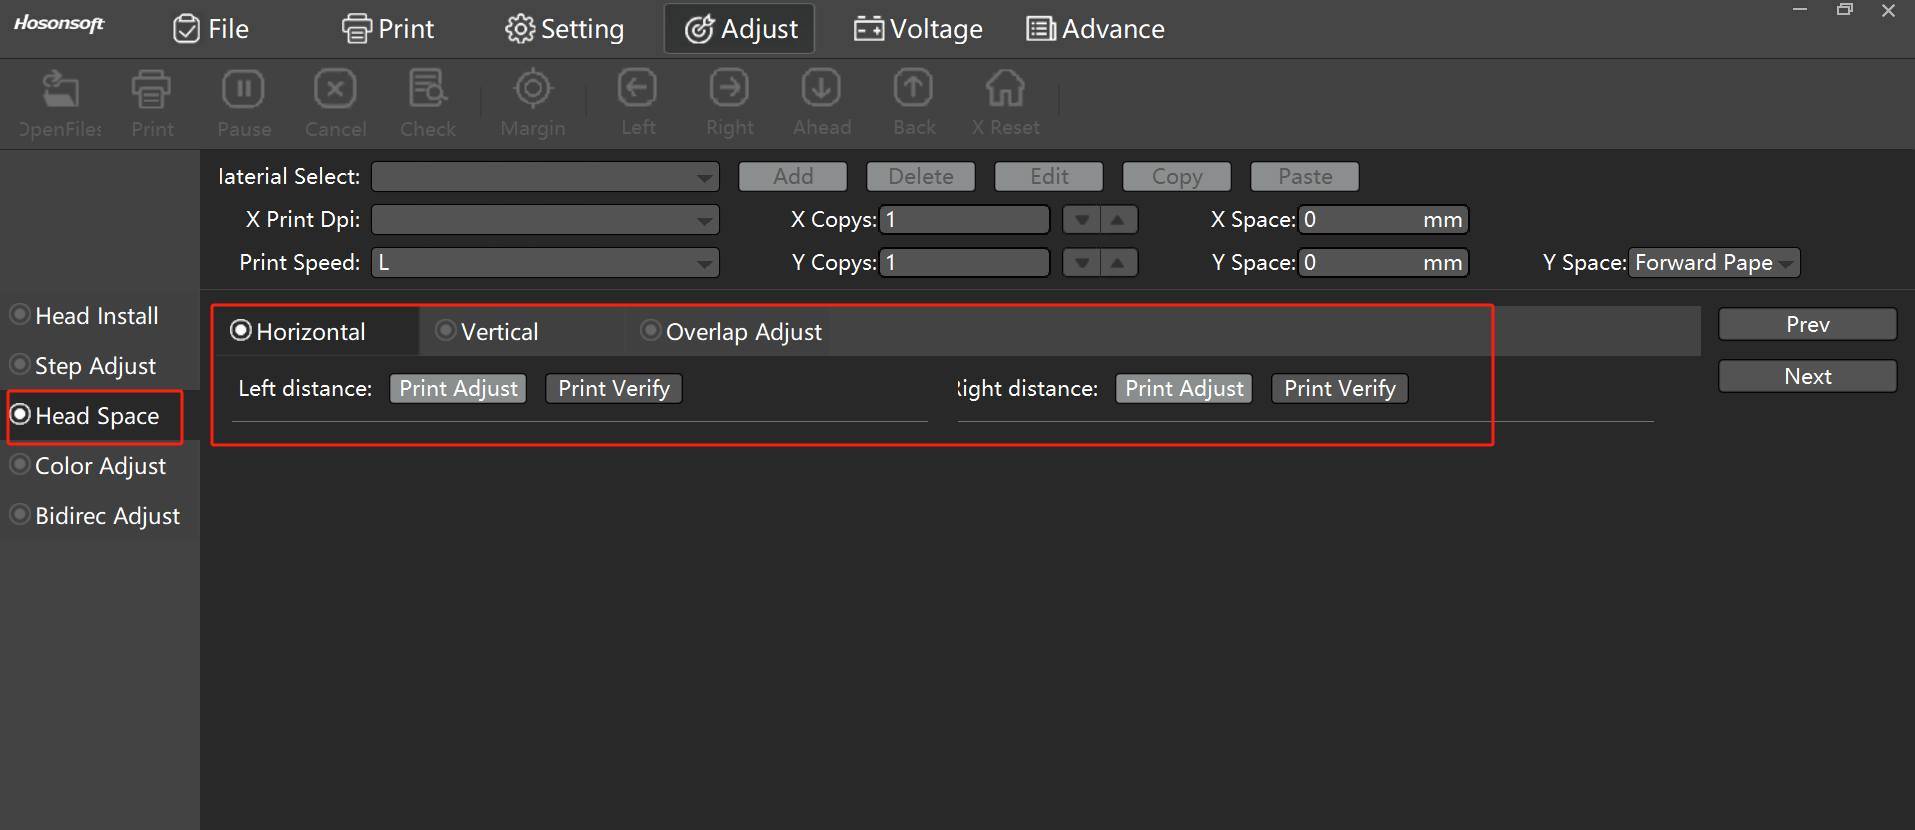
If you're using DTF Pro, you can also set the choke at Printexp software by adjusting the horizontal distance of the head space.
A print head alignment may be helpful too. Print head alignment will calibrate the print head so that ink or toner is applied consistently and precisely onto the page. If you don’t know how to process the alignment, please contact our tech team to help you walk this through.

About the Author - Joyce
Joyce has worked with Procolored since the first day she joined inkjet printing career. Through constant training courses and years of working experiences, Joyce has formed a comprehensive understanding over Procolored products and a thorough knowledge of printing technologies.
Subscribe
To join our mailing list
and never miss our updates!


Subscribe
To join our mailing list
and never miss a baby update!
Subscribe
To join our mailing list
and never miss our updates!


Subscribe
To join our mailing list
and never miss a baby update!